In this bass lesson we’re going to talk about how to switch from Bass Guitar to Double Bass or Upright Bass.
It’s very common for musicians to ‘double’ or play both basses.
What you’ll discover is that there are many similarities between the bass guitar and the double bass… and there are also many differences.
This blog will give you my 5 top tips to learn the Double Bass if you are already a bass guitar player.
The names of the 4 double bass strings (E,A,D,G) are identical so taking bass lines from the bass guitar to the double bass can be relatively straight forward.
At the end of this lesson I'm going to show how to play a 12 bar Jazz Blues using a fingering technique that will work on both electric and double bass.

Tip #1 - Get A Professional Set Up
It’s absolutely essential to have a good set up on your upright or double bass. Badly set up double basses can often be very difficult to play which makes learning the instrument much harder and unrewarding.
It’s far better to buy a cheap double bass (which costs a few hundred dollars) and spend $500 on a great set up and a new set of strings… than buy an expensive instrument which is badly set up.
If you’re switching from the electric bass and wish to play Walking Bass I would recommend getting the bridge set up for ‘Jazz’ (this has a much smoother curvature to it) and using a set of ‘Jazz Double Bass Strings’ such as Thomastik Spirocore which are great for pizzicato or plucking.
Tip #2 - Play Hard!
The Upright Bass is a very physical instrument - you will need to play much harder to create the sound. This may feel very unnatural to begin with especially if you are used to playing electric / bass guitar.
Over time you will build strength in your hands and your ‘sound’ will get better and better.
The Upright Bass pluck is created by playing parallel to the string and using the fleshy part of the finger. You’ll notice that callouses on the bass guitar tend to be on the finger tip and on the upright bass they appear more on the pads of the fingers.
Prepare to blister in your first weeks of playing - this is perfectly normal. Let the blisters recover and try not to burst them. The more you play over time the less likely you are to blister and the quicker blister will heal if you do.

Tip #3 - Develop The 124 Left Hand ‘Hand Shape’
The double bass has a much longer scale than the bass guitar. The length of the bridge to the nut on the bass guitar is typically 34 inches but on double bass is around 41-42’ inches…
This in practice means the notes are further apart on the fingerboard and the ‘one finger per fret technique’ doesn’t generally work on the upright bass (unless you have massive hands)
This means on double bass we only use our 1st finger, 2nd finger and 4th finger. On the E string this means the F is played with a 1st finger, the F# with a 2nd finger and the G with a 4th. The 3rd and 4th finger work together.
This is the same as the ‘4 over 3 method’ I teach on the bass guitar.
Creating a strong handshape is one of the secrets to creating a rock solid intonation on the Upright Bass.
This is the technique which is taught in the seminal ‘Simandl Bass Method’ book.
Also try setting the height of the bass spike so the F on the ‘E String’ is at eye height - this will give you the correct height for the double bass.

Tip #4 - Use Open Strings
Using Open Strings is an essential part of playing the Double Bass. Often bass guitar players will choose to ‘fret’ notes rather than using open strings.
Because the Upright Bass is an ‘intonating’ instrument the open strings are very useful to ensure we are playing in tune. Key Signatures which have more strings are always much easier for intonation such as F, Bb, Eb, G & C.
Between using the open strings and the 124 Hand Shape virtually all of the chromatics notes are available in one hand position.

Tip #5 - Use Pencil Markings
This is more of a ‘hack’ but it’s something I’ve seen top professionals do many, many times. Intonation is one of the toughest things to master on the Upright Bass.
If there’s a note you are struggling to get in tune, a small pencil marking on the fingerboard or neck can often really help. I personally have used one at the octave for years just to help shift in to the upper positions or what’s know as ‘Thumb Position’.
Some students see this as cheating… but if it helps I’m all for it! Give it a go!
Learn The Jazz 12 Bar Blues - Upright Bass Style!
To finish this lesson off I want to show you how to play a ‘Jazz Blues’ in the key F in one single fingering position on the double bass, using the 124 Technique & Open Strings.
If you don’t own an Upright Bass you can play this on the electric bass using the ‘4 over 3’ technique and open strings. Just remember to play notes at the 1st fret with a first finger, 2nd fret with a second finger and most importantly notes at the 3rd fret with a 4th finger.

Lesson Wrap Up
The Upright or Double Bass is very logical next step if you’ve already started playing bass guitar and love the sound and vibe of this instrument.
Inside the Bass Lab PLUS membership at eBassGuitar we have a course called The Essential Walking Bass Course. All of the concepts you learn in this course can be directly applied to the Double Bass… after all, the upright bass is where Walking Bass first started in Jazz!
The Bass Lab PLUS is complete program for the beginner to intermediate bass player - Join FREE Today with a 14 day trial.
All Bass Lab PLUS courses are easy to understand and simplify complex ideas so bass players in the early phases of learning can make rapid progress and achieve results that impress their friends and family fast.
Good luck and get stuck in!
James
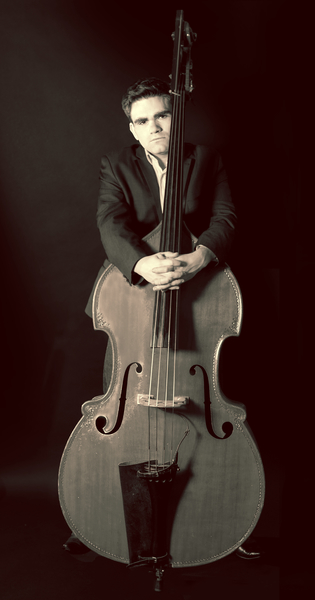
Photo Credits: Blake Ezra Photography